
Ever get that feeling like your jumps aren’t getting that extra oomph? Inputs feel unreliable? Your button is a bit too unresponsive and starts sticking to the controller? Can’t get it up anymore? It can happen to anyone. In this tutorial I’m going to show you a trick the top speedrunners don’t want you to know. Allow me to present ….. opening up and cleaning your controller.
What you’ll need;
- SNES Classic controller
- Small phillips screwdriver
- Small wipes, tissues
- Cotton buds with rubbing alcohol
- Relaxing music
- Peppermint tea (for drinking)
- Sheer determination to have the very best A button there ever was
I must first note that the original SNES and SNES Classic controllers are different on the inside. They are similar enough where I could open my Classic controller by looking at an original SNES tutorial, but I can’t confirm if everything here would be the same. Use your own judgement.
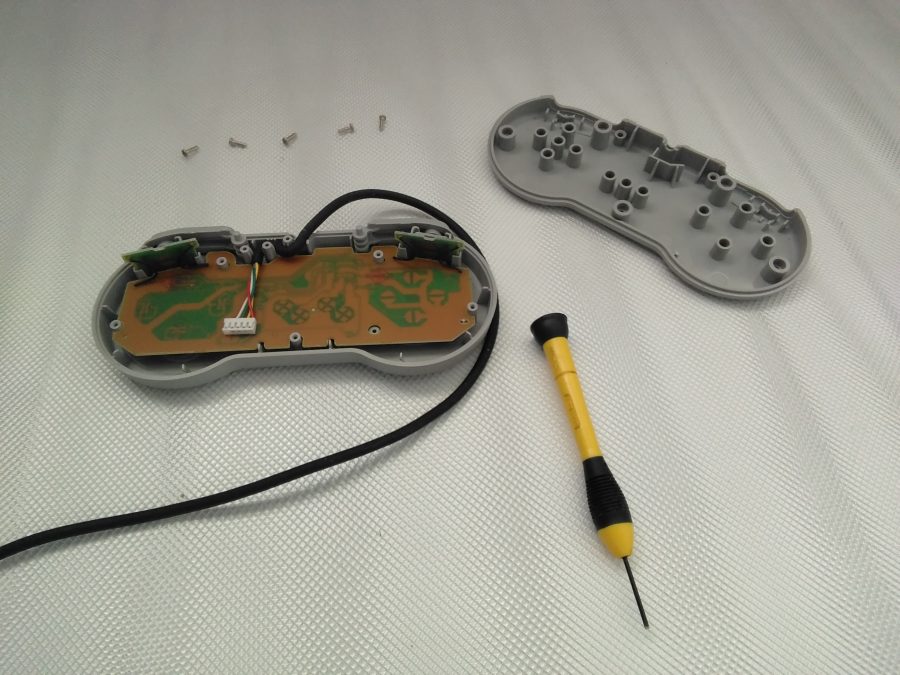
First step is to unscrew the 5 little screws on the back slowly and surely. Thankfully you don’t need Nintendo’s custom TriWing screwdriver for this. I have a box of 6 standard screwdrivers and the very smallest one fits like a glove. The back of the controller will lift right off after the screws are gone. Fairly easy, now we’re going to want to remove the middle part. Untangle the cord, gently pull out the top L and R triggers, then just lift it up.

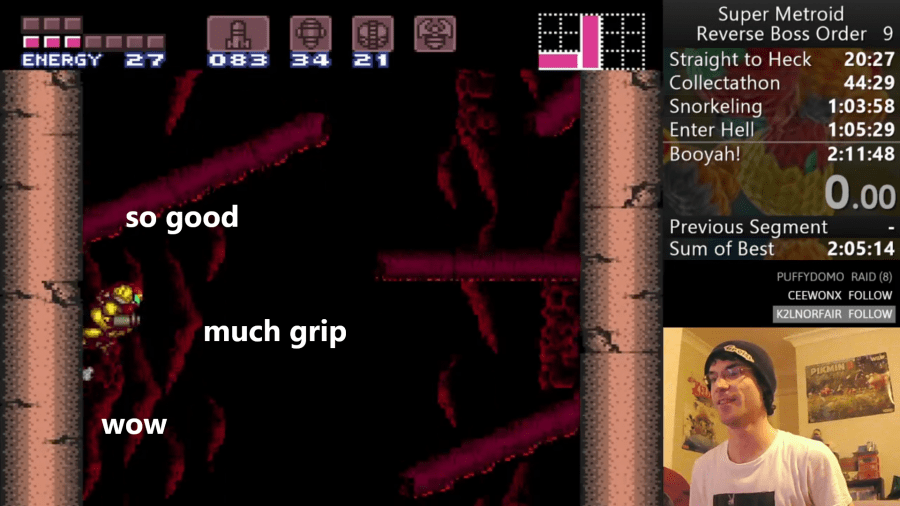
Now we get some real dirt. To be honest, this wasn’t nearly as bad as I expected after two years, but still some icky stuff we need to clean up. Use whatever cleaning stuff you have to rub and wipe up the dirt. In my case I play lots of Super Metroid and mostly use the A and B button for jump and shoot, and you can see that’s where most of the dirt is. My A button was the sticky one I was having problems with, so I thought this would fix it.
Here’s the plot twist. Cleaning helped a bit, but didn’t completely fix the sticky button problem. The rubber itself had become weaker and there was even a little crack in it. You can test the strength of each button by pressing down gently with your finger.

Clickity click. The button you’re having issues with will be very apparent here. My X and Y feel very sturdy and brand new, while my A and B button feel weak and flimsy. But what can you do about this, replace the pad entirely? I’m going to share with you the trick I used, but have to put a disclaimer that it’s not recommended and it’s not an overall fix.

It kinda looks like the pad is stuck to the circuit board but don’t worry, it isn’t. There’s a little stickiness to it but only because it’s been there for years. You can pull it off and safely put it back on the other side of the controller, into the buttons. This gives you the opportunity to flip the pad over so the A button becomes the Y button, and B becomes X. It can only be flipped that one way, but for me it completely solved the problem and made my A and B buttons feel brand new again. Now I’m playing Super Metroid with what feels like a brand new controller. I can’t speak on behalf of other SNES Classic games, but this is also fine for Mario and DKC which only really use two face buttons. If not? You can always flip it back.
I hope this helped someone, and good luck with your gaming endeavors. If you’re still confused, there’s probably more in-depth stuff on YouTube. If all your buttons are clicky? Might need to look into getting another rubber pad if they exist, or just a new controller. I used other tutorials to find out how to open up the controller, then discovered how to flip the rubber pad myself. Enjoy your new wall jumps with unprecedented flexibility and comfort. This DIY tutorial isn’t complete without an outdated meme.
Now go get that world record, gamer.
